Constructing the Flow Stabilizer
The plans for the flow stabilizer's frame have a cut in between the structure. This results in the construction of 2 frames. One of the frames houses the honeycomb, and the other acts as the face on which the mesh screen is stuck to. The image demonstrates the two frames formed. The instructions to prepare and finally join these two secctions are provided as follows.
Quick jump to stabilizer components: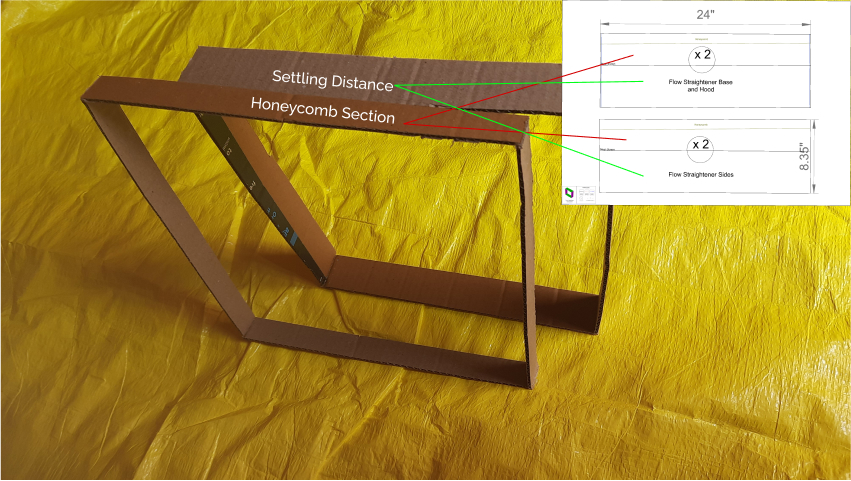
Lined Diameter of Straws
Honeycomb Construction
Step 01 - Taping the Straws
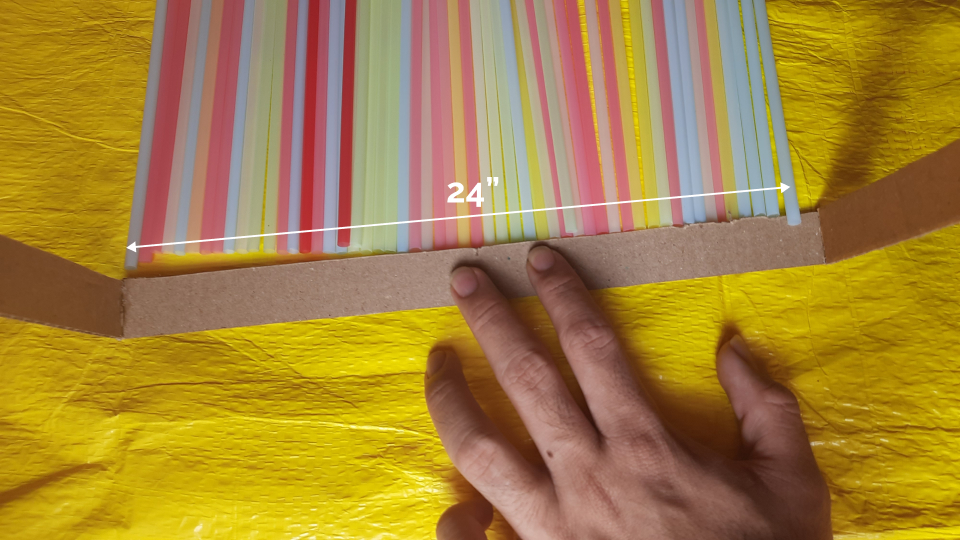
Arrange a bunch of 4mm diameter straws in a single row that runs 24 inches long. Use a ruler (or even the frame to push in place) to line them up in an even straight line.
Once they're lined up, use any ordinary tape to fix them. Fixing them first makes the next step of cutting them easier.
Note: You need about 4000 straws to get 22,500 pieces of 3cm each. This is about 330 dozens - which will not cost more than $5.00 at a wholesaler.
Lined Diameter of Straws
Step 02 - Row-wise Cutting
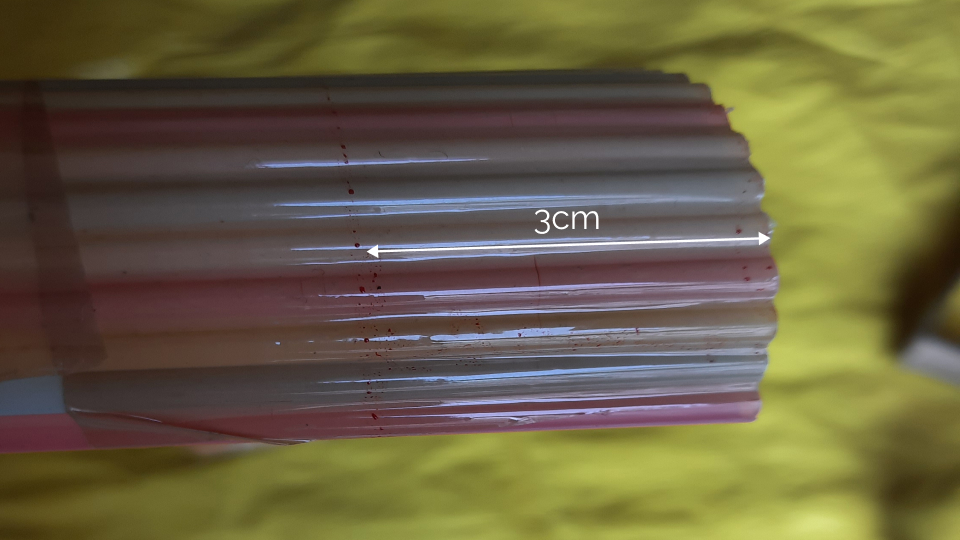
Cut up the taped up straws into rows of 24" length and 3cm breadth. A paper guillotine can help quicken the process, but scissors would also work. Marking them with the breadth of 30mm (3cm) would ensure evenly-sized pieces. Each 24" diameter requires about 150 pieces.
Taped Straws Cut Marks
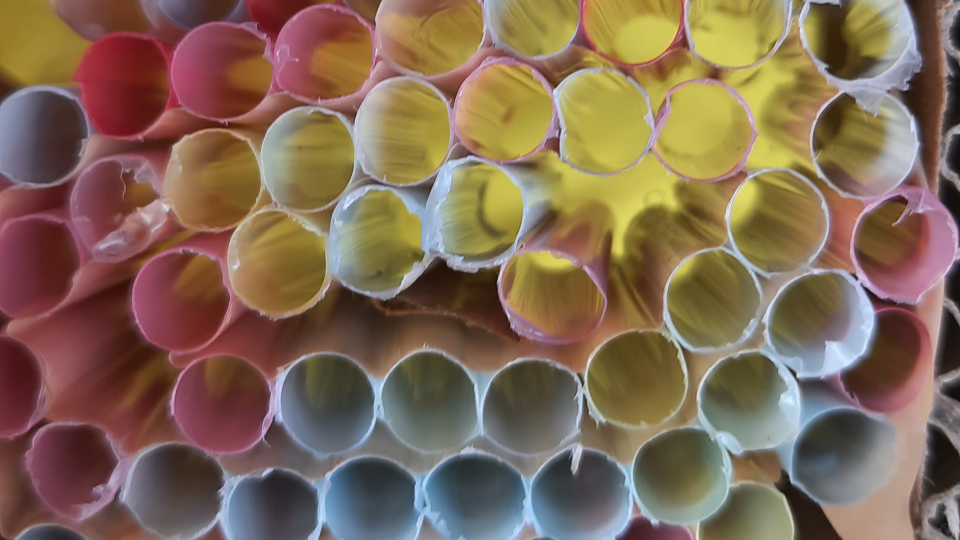
Step 03 - Stacking the Straw Rows
After you've cut up a row of straws, stack it into the honeycomb part of the flow Stabilizer frame. You needn't fasten it with tape. The packing force will push against the wall and hold the honeycomb in place.

Stacking Honeycomb Rows
Step 04 - Repeat Steps 1-3
Repeat this process till the entire frame is filled with straw rows.
Honeycomb seated in its frame
Mesh Screen Construction
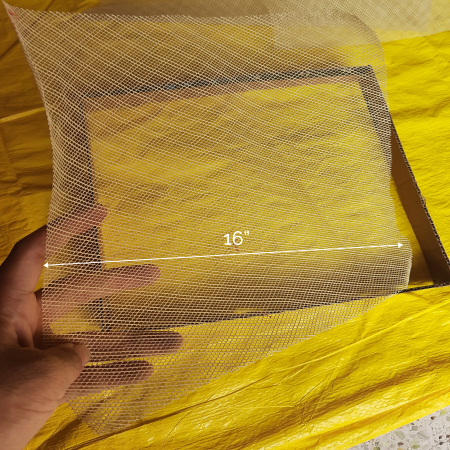
Step 01 - Cutting the mesh
Cut your mosquito mesh (regional equivalent) to the dimension of 16" X 16". Scissors are sufficient tools in this case.
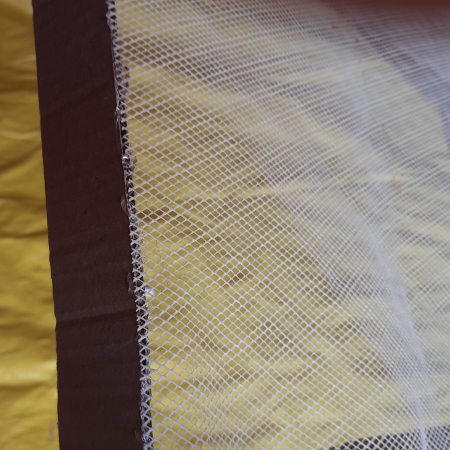
Step 02 - Gluing Mesh
The plans for the flow stabilizer would've provided you with two parts. Take the settling distance piece and apply hot glue to it's edges.
Hold the mesh in place tightly as the glue solidifies.
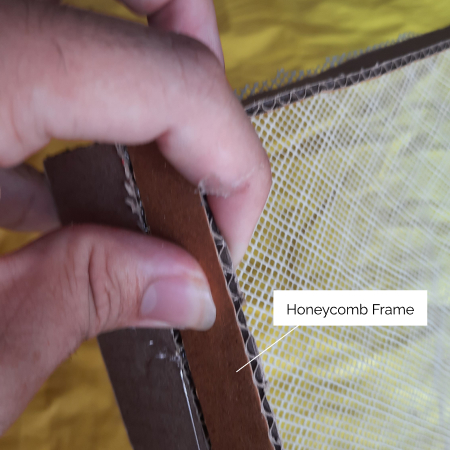
Step 03 - Fixing Honeycomb Frame
Upon the settling distance frame on which the mesh is attached, apply more hot glue. Stick the honeycomb frame from it's edges onto the edges of the settling distance frame. This would seat the mesh about 6cm from the honeycomb as intended in the build plans.
Step 01 - Mesh piece Cut
Step 02 - Hot Glued Mesh to Settling Frame
Step 03 - Attaching Honeycomb Frame on top of Mesh